
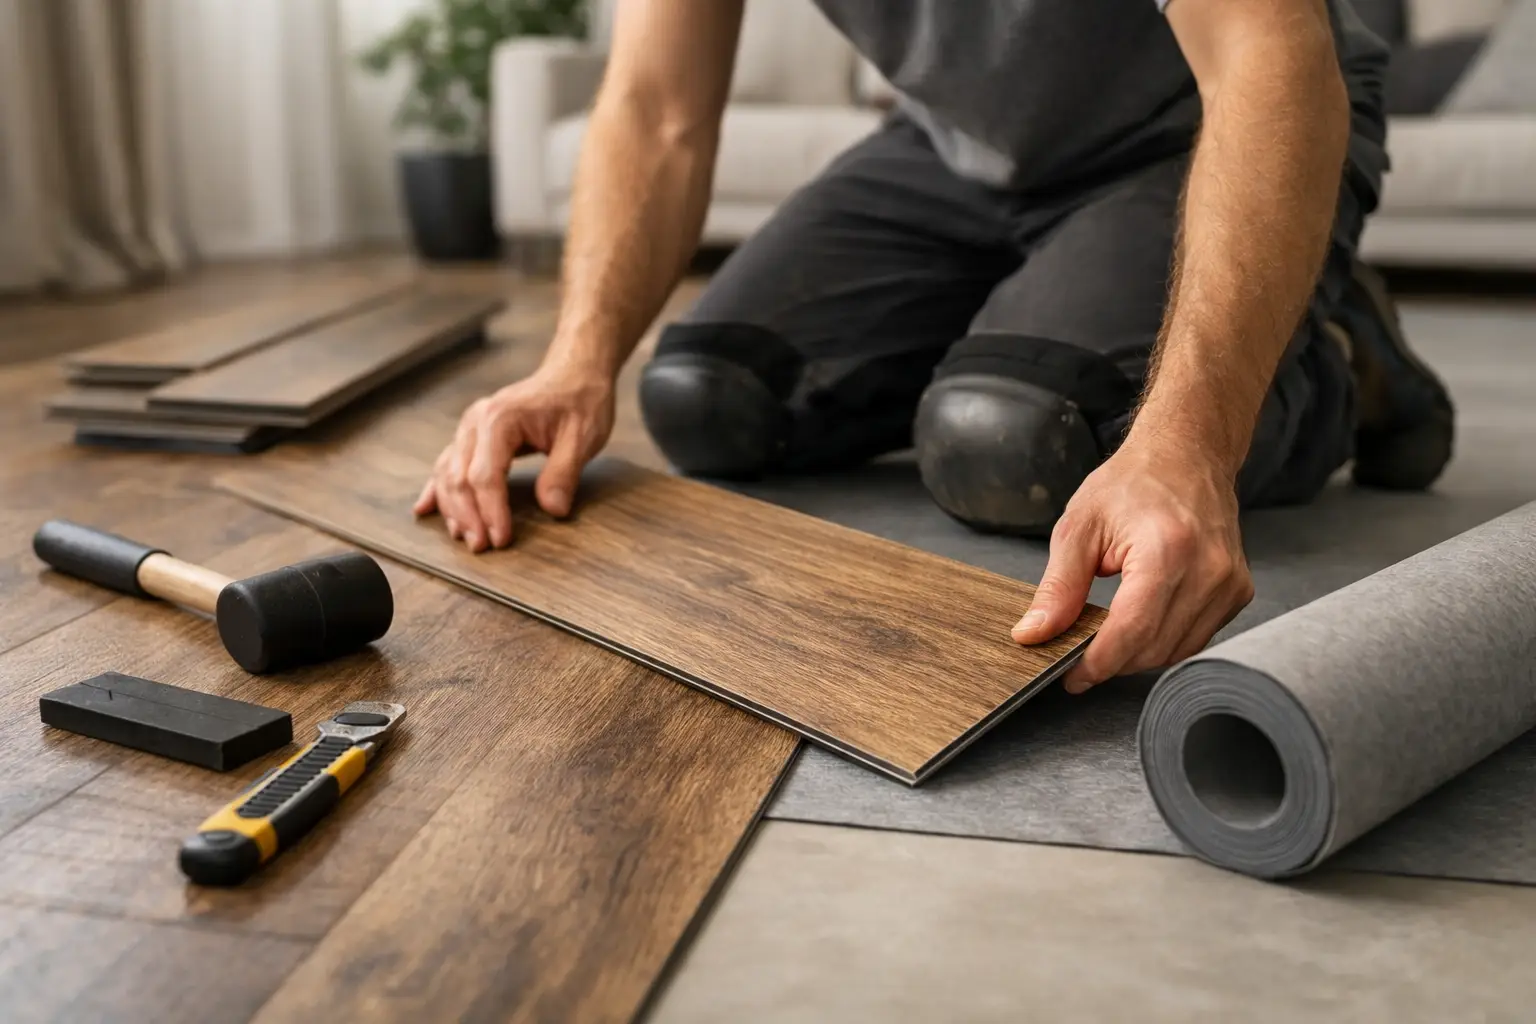
How to Install Luxury Vinyl for Lasting Results
A luxury vinyl floor can look premium on day one and still fail early if the surface beneath it is uneven, damp, or poorly prepared. That is why learning how to install luxury vinyl starts before the first plank is clicked together. The visible finish matters, but the prep work determines whether the floor stays flat, quiet, and durable.
Luxury vinyl plank and tile are popular throughout Central Florida for good reason. They offer the look of hardwood, stone, or tile with strong water resistance, easy maintenance, and a comfortable feel underfoot. But “water-resistant” does not mean a floor can be installed over any existing surface without inspection. A professional installation follows the product specifications, accounts for moisture, and treats subfloor preparation as a priority.
How to Install Luxury Vinyl the Right Way
Before choosing tools or opening boxes, identify the type of luxury vinyl you are installing. Click-lock luxury vinyl plank, also called floating LVP, uses interlocking edges and sits above the subfloor without adhesive. Glue-down vinyl is secured directly to the prepared surface. Loose-lay products rely on weight, friction, and perimeter treatment.
Each system has different installation requirements. Click-lock flooring is often a practical option for residential spaces because individual planks can be replaced more easily. Glue-down vinyl can be an excellent choice for high-traffic commercial areas, large open rooms, and spaces where rolling loads are common. The right product depends on the room, subfloor condition, traffic level, and manufacturer instructions.
Measure the room and order enough material
Measure each section of the room, including closets, alcoves, and connecting spaces. Multiply length by width to calculate square footage, then add extra material for cuts and layout adjustments. For a straightforward room, allow roughly 7% to 10% extra. Rooms with angled walls, multiple doorways, cabinets, or detailed patterns may require more.
Do not rely on a single measurement when ordering flooring. Measure twice, and check the dimensions at several points because walls are not always square. Ordering enough material from the same product batch also helps maintain consistency in color and texture.
Let the flooring acclimate when required
Many luxury vinyl products need time to adjust to the temperature and humidity inside the home before installation. Bring unopened cartons into the conditioned space and follow the manufacturer’s acclimation instructions. Keep the room at a stable indoor temperature before, during, and after installation.
This step is especially relevant in Florida, where outdoor heat and humidity can be significant. Flooring should not be installed in a space that is not climate controlled or where excessive moisture remains in the subfloor. A stable environment helps reduce expansion, contraction, and joint separation concerns.
Prepare the Subfloor Before Installing Vinyl
A clean, flat, dry, and structurally sound subfloor is the standard for a high-quality luxury vinyl installation. Vinyl can follow the shape of imperfections below it, a problem known as telegraphing. Small dips, ridges, grout lines, damaged concrete, and loose fasteners can become visible or noticeable after installation.
Remove old flooring, adhesive residue, staples, baseboards, and debris as needed. If existing flooring will remain in place, verify that the new vinyl product is approved for installation over it. Thick carpeting, loose sheet vinyl, severely damaged tile, and uneven surfaces usually need to be removed.
For concrete, check for cracks, high spots, and moisture. Minor cracks may need repair, while uneven areas may need grinding or a suitable floor-leveling compound. For wood subfloors, secure loose panels and address squeaks before the new flooring is installed. Replace damaged or soft areas instead of covering them.
Most manufacturers specify a maximum allowed variation in the subfloor, often measured across a six- or 10-foot span. Use a long straightedge to identify low and high areas. Skipping this inspection may save time at the beginning, but it often creates visible gaps, bouncing planks, or premature locking-system damage later.
Test moisture instead of making assumptions
Concrete can look dry while still releasing moisture vapor that affects adhesives and flooring materials. This is one of the most common reasons a floor installation needs professional evaluation. Use the moisture testing method required by the flooring and adhesive manufacturer, particularly for glue-down luxury vinyl.
If readings exceed the approved limit, the solution may involve a moisture mitigation system, a different flooring method, or additional site preparation. Installing over a moisture issue is not a shortcut. It is a risk that can lead to adhesive failure, curling edges, mold concerns, or costly replacement work.
Plan the Layout Before You Cut
A strong layout makes the finished floor look intentional. Start by finding the longest, most visible wall or the main line of sight from the entry. Luxury vinyl planks are often installed parallel to the longest wall, but the best direction can change based on room shape, natural light, and transitions into nearby spaces.
Dry-lay a few rows before committing. This reveals whether the first or last row will be too narrow and helps prevent awkward slivers along a wall. If the final row would be very thin, adjust the starting row so both sides of the room look balanced.
Open several cartons and mix planks or tiles during installation. Even quality flooring can have natural variation between pieces. Blending cartons prevents obvious color clusters and creates a more realistic finished appearance.
For click-lock plank flooring, stagger end joints according to the manufacturer’s minimum requirement. Avoid creating an obvious repeating pattern, such as a stair-step or H-shaped layout. Random-looking staggered joints generally produce the most natural wood-floor appearance.
Install the Luxury Vinyl With Care
For floating click-lock vinyl, begin with the expansion gap required by the manufacturer, usually maintained with spacers around walls, pipes, door frames, cabinets, and other fixed objects. The floor needs space to move slightly with normal environmental changes. Never lock a floating floor tightly against a wall or secure it through the surface with nails or screws.
Install the first row straight. A small error at the starting wall can become a major alignment issue by the time you reach the far side of the room. Connect planks at the correct angle, lower them carefully into place, and inspect every joint before moving forward. If a plank does not sit flush, stop and find the cause rather than forcing the connection.
For glue-down products, use only the adhesive specified for that flooring. Adhesive has a required open time, working time, and application rate. Applying too much, installing too early, or waiting too long can compromise the bond. Spread adhesive with the proper trowel, place the material carefully, and use the recommended floor roller to secure full contact.
Cut planks with the method approved for the product. Many luxury vinyl planks can be scored with a utility knife and snapped, while thicker rigid-core products may require a vinyl cutter, jigsaw, or miter saw. Measure openings carefully, including door jambs and floor vents. Under-cutting door casings allows the flooring to slide beneath the trim for a cleaner, more professional result.
Finish the Edges and Protect the New Floor
After installation, remove spacers and cover expansion gaps with baseboards, quarter round, or shoe molding attached to the wall, not the floating floor. Install transition pieces at doorways, changes in flooring type, and areas where the manufacturer requires movement breaks.
Clean the floor using the product’s approved method. Avoid harsh solvents, steam cleaners, abrasive pads, and excessive water. Place protective pads under furniture legs, and use wide, non-staining floor protectors for heavy items. If appliances or furniture are extremely heavy, confirm that the flooring system is designed to carry those loads without restricting normal movement.
A new floor should feel solid, lie flat, and have clean transitions from room to room. If it clicks, shifts, separates at joints, or shows noticeable unevenness, the issue is usually connected to subfloor preparation, moisture, or installation technique rather than the surface material itself.
When Professional Installation Is the Better Investment
DIY installation can work in a small, square room with a flat, dry subfloor and a straightforward click-lock product. The project becomes more complex when old flooring must be removed, concrete needs leveling, moisture is present, cabinets create difficult cuts, or multiple rooms require coordinated transitions.
Professional flooring crews bring the equipment and experience needed to manage demolition, surface preparation, material installation, and finishing details as one process. That prevents one trade from leaving problems for the next. Rox Floor helps property owners, managers, and remodeling clients handle those critical steps with high-quality workmanship and a clear plan from removal through final installation.
Before starting, inspect the room honestly. A luxury vinyl floor is only as reliable as the surface beneath it, and the best result comes from fixing preparation issues before the first plank goes down.