
Tile Removal: What a Professional Process Prevents
A cracked bathroom tile or dated kitchen floor can make an entire room feel overdue for change. But tile removal is not simply a matter of breaking up tile and hauling it away. Done poorly, it can damage the subfloor, loosen surrounding finishes, create excessive dust, and add costly delays before the new flooring can be installed.
For homeowners, property managers, investors, and contractors, the goal is clear: remove the old surface efficiently, protect the structure underneath, and leave a clean, level foundation for what comes next. That takes the right equipment, experienced hands, and a plan that accounts for the specific tile, substrate, and condition of the space.
Why Professional Tile Removal Makes a Difference
Tile is designed to stay in place. Ceramic, porcelain, natural stone, and mosaic tile are typically installed with thinset mortar, grout, backer board, or in older homes, a thick mortar bed. Each material requires a different removal approach. A crew that treats every floor the same can easily turn a straightforward renovation into a subfloor repair project.
Professional removal starts by identifying what is below the tile. A concrete slab, plywood subfloor, cement board, and old mud bed all respond differently to impact and scraping. The condition of the surface also matters. Water damage around a shower, loose tiles in a kitchen, or cracks across a large floor may point to issues that should be addressed before installation begins.
The strongest value is continuity. When one qualified team handles removal, surface preparation, and new flooring installation, there is less room for confusion between trades. The installer knows exactly how the floor was opened, what repairs were needed, and whether the surface is ready for the next material.
What the Tile Removal Process Should Include
A high-quality job is organized from the first walkthrough to final cleanup. The work may look aggressive, especially when removing thick porcelain or stone, but the process should remain controlled and deliberate.
Site protection and dust control
Before any tile is removed, nearby finishes need protection. That includes cabinets, baseboards, walls, appliances, countertops, doors, and furniture that cannot be moved from the work area. Floors outside the demolition zone should be covered to reduce tracking of debris through the property.
Dust management is equally important. Tile demolition produces fine particles from grout, thinset, mortar, and concrete. A professional crew uses containment practices and appropriate cleanup equipment to keep the jobsite safer and more manageable. No demolition is completely dust-free, but there is a major difference between contained, planned work and a home filled with uncontrolled debris.
Controlled removal of tile and mortar
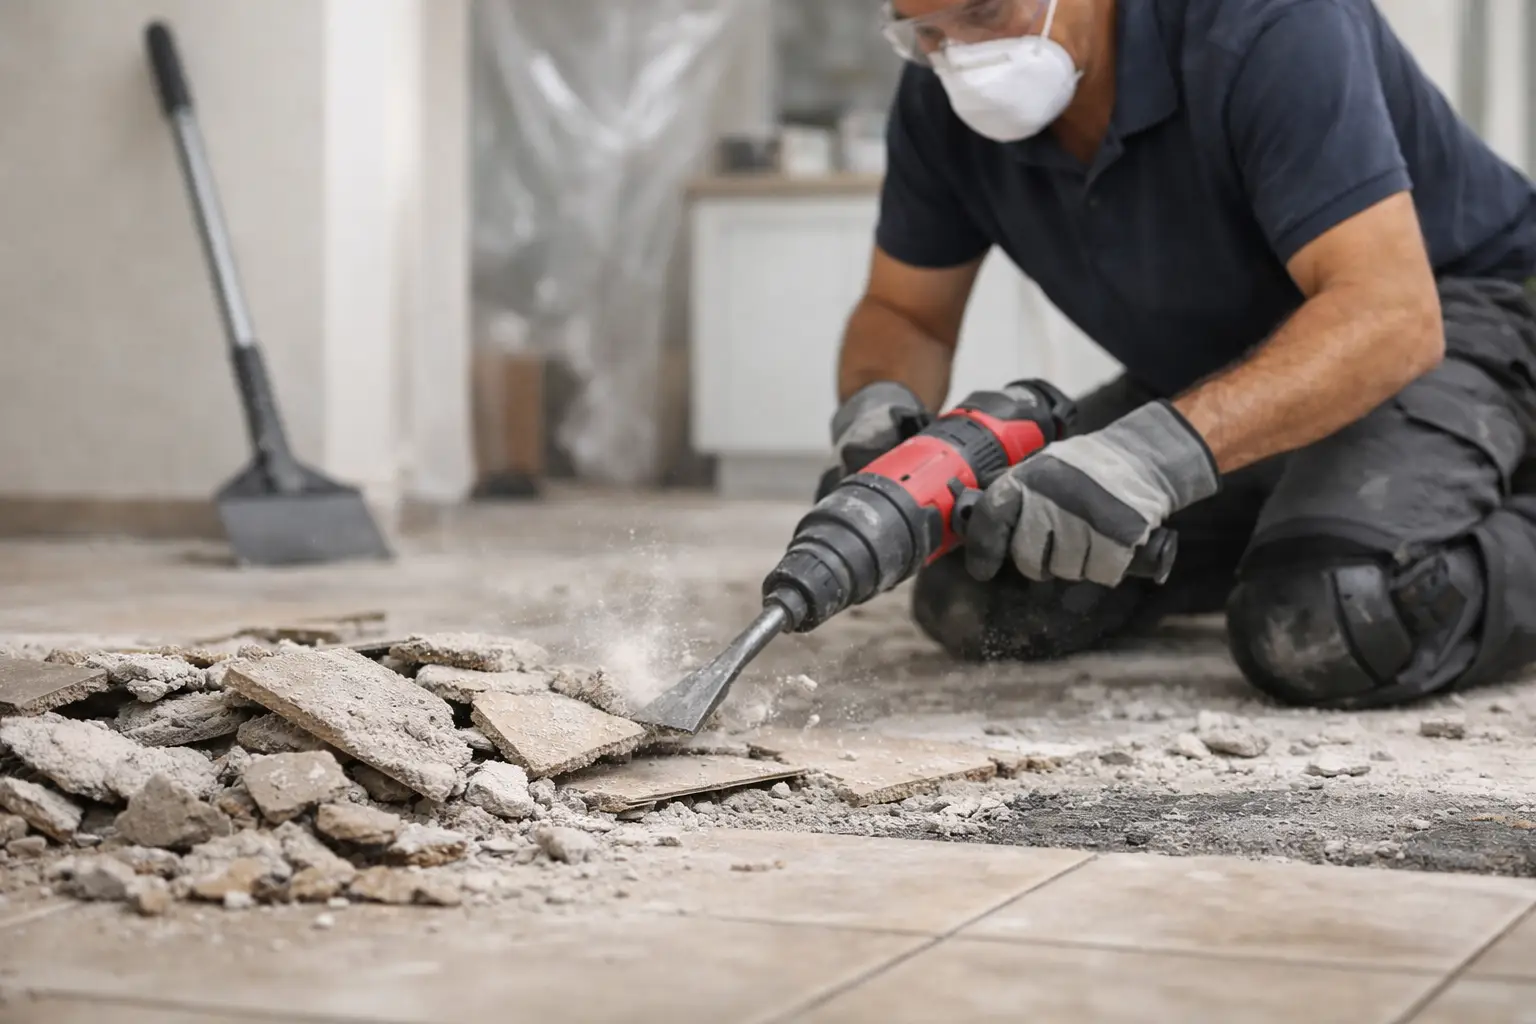
The removal method depends on the tile and the surface below it. Hand tools may be appropriate for smaller areas, delicate transitions, wall tile, or locations near fixtures. Larger open floor areas often require commercial-grade demolition equipment that removes tile faster while reducing unnecessary strain on the subfloor.
Speed matters, but precision matters more. Tile near cabinets, door jambs, tubs, toilets, islands, and existing flooring transitions must be removed carefully. The objective is to preserve what stays while clearing what goes.
Once the visible tile is out, the work is not finished. Thinset, adhesive, backing material, and uneven mortar can all prevent a new floor from bonding correctly. The remaining material must be mechanically removed or ground down as needed to create a stable surface.
Subfloor inspection and preparation
This is where many low-cost demolition jobs fall short. A floor may appear clean after tile removal but still be unsuitable for new installation. High spots, adhesive residue, cracks, moisture damage, hollow areas, and loose backer board can compromise the finished floor.
On concrete, surface grinding or patching may be needed to create the proper profile and flatness. On wood framing, damaged plywood may need replacement, while uneven sections may require correction before new tile, vinyl, or other flooring goes down. If the floor has a moisture issue, covering it without solving the cause can lead to failure later.
A prepared surface gives the new material a real chance to perform as intended. It also helps prevent common problems such as tile cracking, grout separation, visible lippage, vinyl telegraphing imperfections, and premature adhesive failure.
Debris removal and a clean handoff
Broken tile is heavy, sharp, and difficult to manage. A complete service includes collecting demolition debris, removing it safely from the property, and cleaning the work area for the next stage of renovation. This is especially valuable for occupied homes, rental turnovers, retail spaces, and projects operating on a tight schedule.
The best handoff is simple: the old tile is gone, the surface has been evaluated, necessary preparation has been completed, and the space is ready to move forward.
When Tile Removal Becomes More Complex
Not every project carries the same scope. A small powder room with modern ceramic tile is very different from a large commercial space, a shower surround, or a Florida home with a decades-old mortar bed over concrete.
Wall tile requires extra care because the substrate may be damaged during demolition. If the wall is going to receive new tile, replacing drywall or cement board can be the smarter choice. If the goal is to preserve surrounding finishes, removal becomes more detailed and may take longer.
Bathrooms also require attention around plumbing fixtures and waterproofing. In shower renovations, removing tile may reveal compromised backing, hidden moisture damage, or a failed waterproofing system. That is not bad news to ignore. It is the opportunity to rebuild the area correctly before a new finish is installed.
For investment properties and commercial spaces, access and scheduling can be the deciding factors. Work may need to happen between tenants, after business hours, or in phases so the property remains functional. An experienced flooring demolition team can plan the sequence around those realities instead of forcing the project into a one-size-fits-all schedule.
Common Mistakes That Raise Renovation Costs
The temptation to save money by handling demolition without a plan is understandable. Yet tile removal often becomes expensive when the wrong tools or techniques are used. Striking too deeply can gouge concrete, split plywood, crack adjacent tile, or damage cabinets and trim. Leaving old thinset behind can create an uneven installation surface that causes problems immediately after new flooring is installed.
Another common mistake is choosing a removal-only provider without discussing the installation requirements. Different products have different tolerances. Large-format porcelain tile needs a very flat floor. Vinyl requires smoothness because minor defects can show through. Marble demands careful substrate preparation due to its sensitivity and natural variation. Preparation should match the material that will be installed, not merely the material that was removed.
Skipping a condition assessment can also hide the real source of failure. If tiles are loose because of moisture, movement, or an unstable substrate, replacing them without correcting the issue only postpones the repair.
Choose a Team That Can Take the Job Further
A reliable tile removal contractor should be able to explain the scope clearly: what will be protected, how debris will be managed, what preparation is included, and what conditions could affect the final price or timeline. Clear expectations protect everyone involved.
For Central Florida projects, Rox Floor brings the practical advantage of a full-service approach. The same experienced team can remove old flooring, prepare the surface, and install ceramic, vinyl, marble, or other selected finishes. That means fewer handoffs, more consistent accountability, and a better path from demolition to a finished space.
A great new floor begins before the first tile is set. Give the removal phase the attention it deserves, and the rest of the renovation starts on solid ground.