
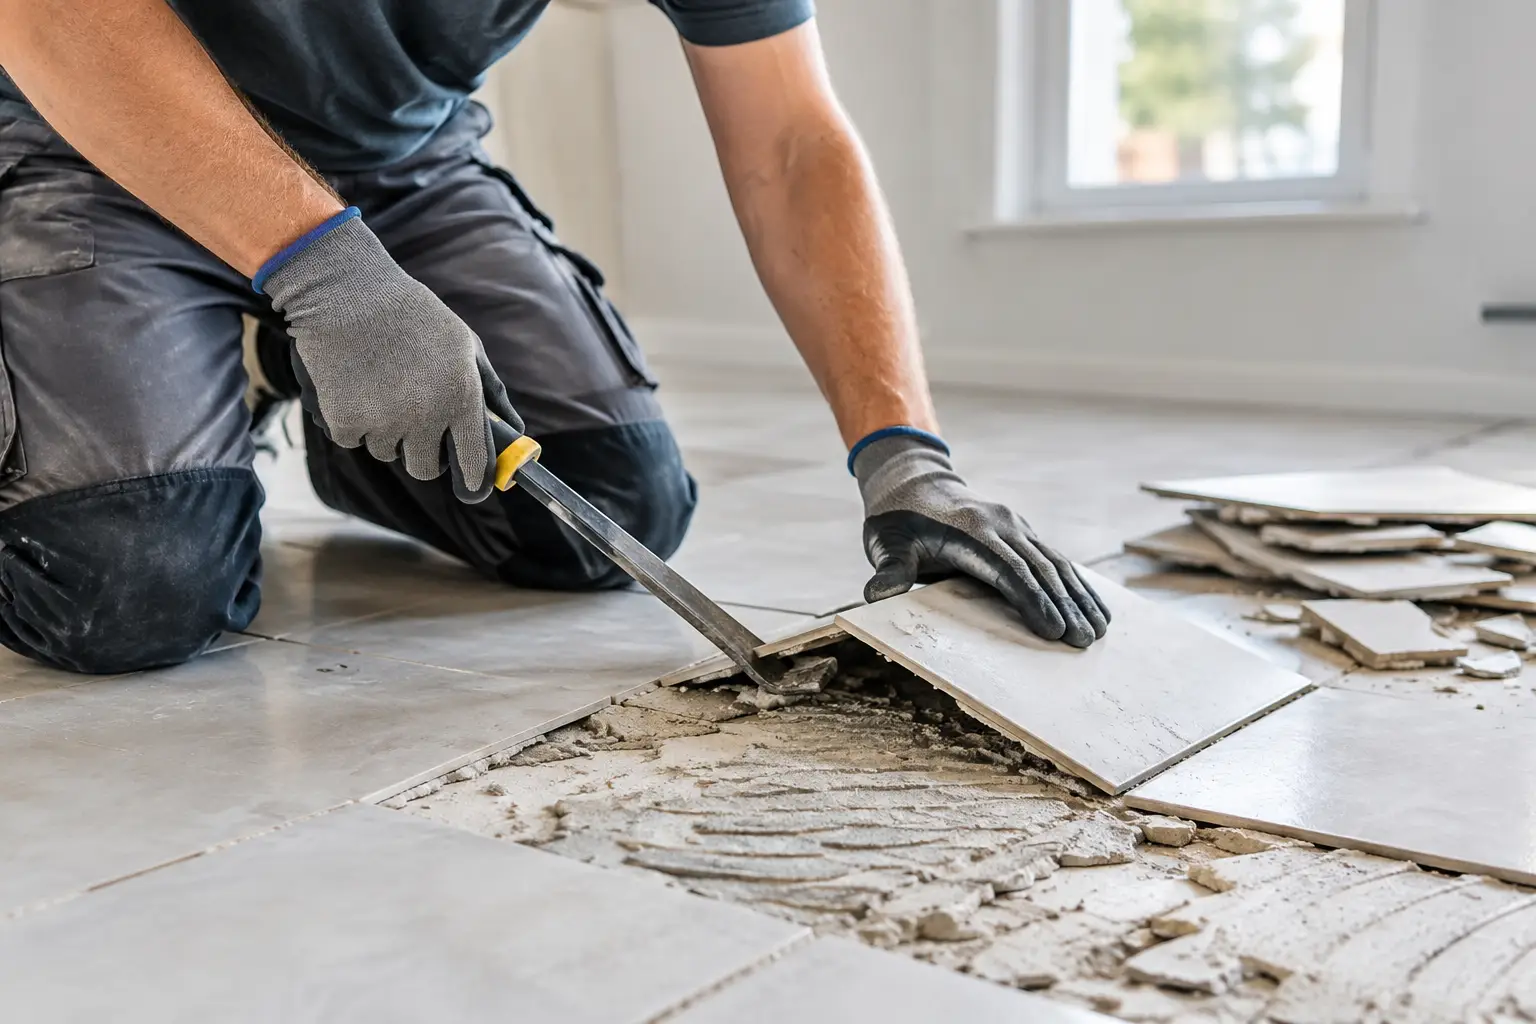
Ceramic Removal Without Subfloor Surprises
A ceramic floor can look solid from above while hiding years of cracked thinset, loose sections, moisture damage, and uneven repairs underneath. That is why ceramic removal is not a job to rush with a hammer and a rented scraper. The tile may be the visible problem, but the condition of the surface below determines whether your next floor performs the way it should.
For homeowners, property managers, contractors, and investors, professional removal creates a clean starting point. It protects the subfloor where possible, keeps debris under control, and helps prevent costly installation delays later. Whether the plan is new ceramic tile, vinyl plank, marble, or a full kitchen or bathroom update, the removal phase deserves the same attention as the finished floor.
What Professional Ceramic Removal Really Includes
Ceramic tile removal begins with evaluating the floor system, not simply breaking tile. A trained crew identifies the tile type, installation method, subfloor material, room access, transitions, and likely problem areas. This upfront review helps determine the right equipment and the amount of surface preparation the project will need.
The tile is then removed in controlled sections using professional demolition tools designed to lift material efficiently. The goal is to remove tile and adhesive while minimizing unnecessary damage to the concrete slab, plywood, or underlayment below. Dust containment, debris handling, and safe disposal are part of a professional process, especially in occupied homes, multifamily properties, and commercial spaces.
After the tile comes the step many people underestimate: removing thinset, mortar, mastic, and loose underlayment. Ceramic leaves behind a rough, uneven surface that is rarely ready for new flooring without additional work. A floor that looks mostly clean can still have high spots, adhesive ridges, cracks, or moisture issues that compromise the next installation.
Why DIY Tile Removal Often Gets Expensive
Removing a few loose tiles is one thing. Removing an entire ceramic floor without creating bigger problems is another. Ceramic is hard, brittle, and often bonded aggressively to the surface beneath it. The work is loud, physically demanding, and creates sharp debris and fine dust quickly.
DIY removal can make sense for a small, isolated area when the homeowner has the right tools, safety equipment, time, and a clear understanding of the floor assembly. But for kitchens, bathrooms, living areas, rental turnovers, and commercial interiors, the risk is usually not worth the apparent savings.
The most common issue is damage to the subfloor. Concrete can be gouged or left with stubborn adhesive ridges. Plywood can be split, weakened, or exposed to moisture damage once tile is lifted. In older homes, a crew may uncover multiple layers of flooring, patchwork repairs, or an underlayment that needs complete replacement. These conditions are manageable when discovered early, but they can disrupt a schedule when removal was treated as a simple weekend task.
There is also the cleanup factor. Broken ceramic is heavy, sharp, and difficult to move through a home without proper planning. Dust can travel beyond the work area if containment and ventilation are not handled correctly. A professional team arrives prepared to remove material efficiently and leave the site ready for the next trade or installation phase.
The Surface Below the Tile Matters Most
A premium floor installation depends on a stable, clean, and properly prepared base. Once ceramic is removed, the surface should be inspected before any new material is selected or installed. This is where skilled removal and preparation work protect the investment.
On a concrete slab, crews check for cracks, hollow areas, moisture concerns, old adhesive, and elevation changes. Some cracks are minor and can be addressed during preparation. Others may indicate movement or moisture conditions that should be evaluated before installing a rigid finish such as porcelain or natural stone.
Wood subfloors require a different approach. The team checks for softness, deflection, water damage, fastener issues, and uneven sections. Tile may have concealed damage around dishwashers, toilets, exterior doors, or shower entries. Installing new flooring over a compromised wood base can lead to movement, cracked grout, loose planks, or premature failure.
Leveling is also critical. Vinyl flooring, large-format tile, and marble all have different tolerances, but none perform well over major dips, humps, or leftover mortar. Surface preparation may include grinding, patching, self-leveling material, underlayment replacement, or crack treatment. The right solution depends on the existing floor and the product going back in.
Removal and Installation Should Work as One Plan
Hiring separate crews for demolition, preparation, and installation can create gaps in responsibility. One contractor removes the tile, another finds an uneven slab, and a third is asked to install over conditions they did not create. That process can lead to delays, change orders, and finger-pointing.
An integrated flooring team evaluates the project from removal through finish. That means the removal method is selected with the new floor in mind. If the plan is luxury vinyl, the surface is prepared for its flatness requirements. If the project calls for ceramic or marble, the crew can address the structure and substrate conditions necessary for a durable installation.
Rox Floor provides this kind of start-to-finish approach for Central Florida projects, combining professional floor removal, surface preparation, and high-quality installation. Clients get one accountable team focused on a clean transition from the old floor to the new one.
When Ceramic Removal Becomes More Complex
Not every tile floor requires the same level of demolition. Projects can become more involved when tile is installed over thick mortar beds, multiple layers of flooring, damaged cement board, or older materials with uncertain composition. Bathrooms and kitchens also require added care around cabinets, plumbing, appliances, waterproofing systems, and wall finishes.
Commercial projects may add scheduling pressure. A retail space, office, restaurant, or multifamily unit often needs removal completed within a narrow window to reduce downtime. In these cases, prompt scheduling, a defined work plan, and reliable debris removal matter as much as the technical work itself.
The best time to identify these variables is before demolition begins. A detailed quote should account for the room size, tile type, access, disposal needs, surface condition, and whether the project includes installation afterward. A low removal price that ignores preparation needs may look attractive at first, but it can create unexpected costs before the new flooring can go down.
How to Prepare Your Space Before the Crew Arrives
A few practical steps help keep ceramic removal efficient. Remove personal items, wall décor near the work area, and fragile belongings from adjacent rooms. Clear furniture whenever possible, or confirm in advance whether furniture moving is included in the scope of work.
If the project is in a kitchen or bathroom, ask how appliances, toilets, vanities, and baseboards will be handled. Their removal and reinstallation may be part of a larger remodeling plan, but they should never be assumed. Pet arrangements are also worth planning, since demolition noise and temporary restricted access can be stressful.
Most importantly, decide what comes next before the old tile is removed. Knowing whether you want ceramic, vinyl, marble, or another surface allows the crew to prepare the floor to the correct standard. It also keeps your project moving once demolition is complete.
Choose Removal Work That Protects the Finish
Ceramic removal is the first visible step in a renovation, but its real value is what it prevents: damaged substrates, uneven new floors, installation failures, and avoidable delays. Professional work turns a difficult demolition phase into a controlled, productive part of the project.
If old tile is cracking, dated, water-damaged, or simply no longer right for the space, treat removal as the foundation of the upgrade. A clean surface, a clear plan, and an expert crew give your next floor the conditions it needs to look better and last longer.