
How to Install Ceramic Tile the Right Way
A ceramic tile job can look premium for years or start failing within months – and the difference usually comes down to prep, layout, and installation discipline. If you want to know how to install ceramic tile correctly, start by thinking beyond the tile itself. The surface underneath, the spacing, the mortar coverage, and the curing time all matter just as much as the finish you see.
For homeowners, property managers, and investors, ceramic tile is popular for a reason. It is durable, easy to maintain, and a strong upgrade for kitchens, bathrooms, laundry rooms, and many commercial interiors. But tile is not forgiving. Small shortcuts at the beginning often turn into cracked grout, loose tiles, lippage, and moisture problems later.
Before you install ceramic tile, check the surface
The most common mistake is treating tile installation like a simple finish upgrade. In reality, it is a surface preparation project first. Tile needs a substrate that is clean, solid, flat, and stable. If the base flexes, has debris, holds moisture, or includes old adhesive buildup, the tile system can fail.
Concrete slabs need to be inspected for cracks, uneven spots, paint, sealers, and contamination. Wood subfloors need to be checked for movement, water damage, and structural adequacy. In wet areas, the underlayment and waterproofing approach matter even more. If you are installing over a damaged or poorly prepared surface, the result may look good on day one and still be a bad installation.
This is why professional crews often spend a major part of the project on removal, leveling, and prep. It is not wasted time. It is what protects the finished floor.
Tools and materials that actually matter
You do not need every specialty tool on the market, but you do need the right basics. That usually includes ceramic tile, thin-set mortar, grout, spacers, a notched trowel sized for your tile, a level, tile cutter or wet saw, mixing bucket, sponge, tape measure, chalk line, and knee protection.
The exact materials depend on the room and the substrate. A small backsplash and a high-traffic floor do not use the same approach. Wet locations may require waterproofing membranes. Larger format tile may require a different trowel and back-buttering technique. Choosing the wrong mortar or grout can create avoidable issues, even if the tile itself is good quality.
How to install ceramic tile step by step
1. Prepare the area completely
Remove furniture, base trim if needed, old flooring, debris, dust, and anything that can interfere with bonding. Repair damaged sections of the substrate. If the floor is out of level or has low spots, use the appropriate leveling product before you begin setting tile.
A tile installation is only as strong as what is underneath it. If the floor feels soft, uneven, or contaminated, stop there and fix that first.
2. Dry lay and plan the layout
Layout is where average work starts to separate from expert work. Snap reference lines and dry lay a row in both directions to see how the cuts will land at walls, cabinets, doorways, and transitions. You want balanced cuts and a clean visual line when someone enters the room.
Starting in a visible focal area usually produces a better result than simply beginning at one wall. Very small cuts at the perimeter tend to look rushed and can be harder to install cleanly.
3. Mix the mortar correctly
Follow the manufacturer instructions closely. Mortar that is too wet can weaken performance. Mortar that is too stiff can reduce coverage and make tile placement harder. Mix only what you can use within the working time.
This step sounds simple, but consistency matters. Mortar needs the right texture to hold ridges and create full contact under the tile.
4. Spread mortar in manageable sections
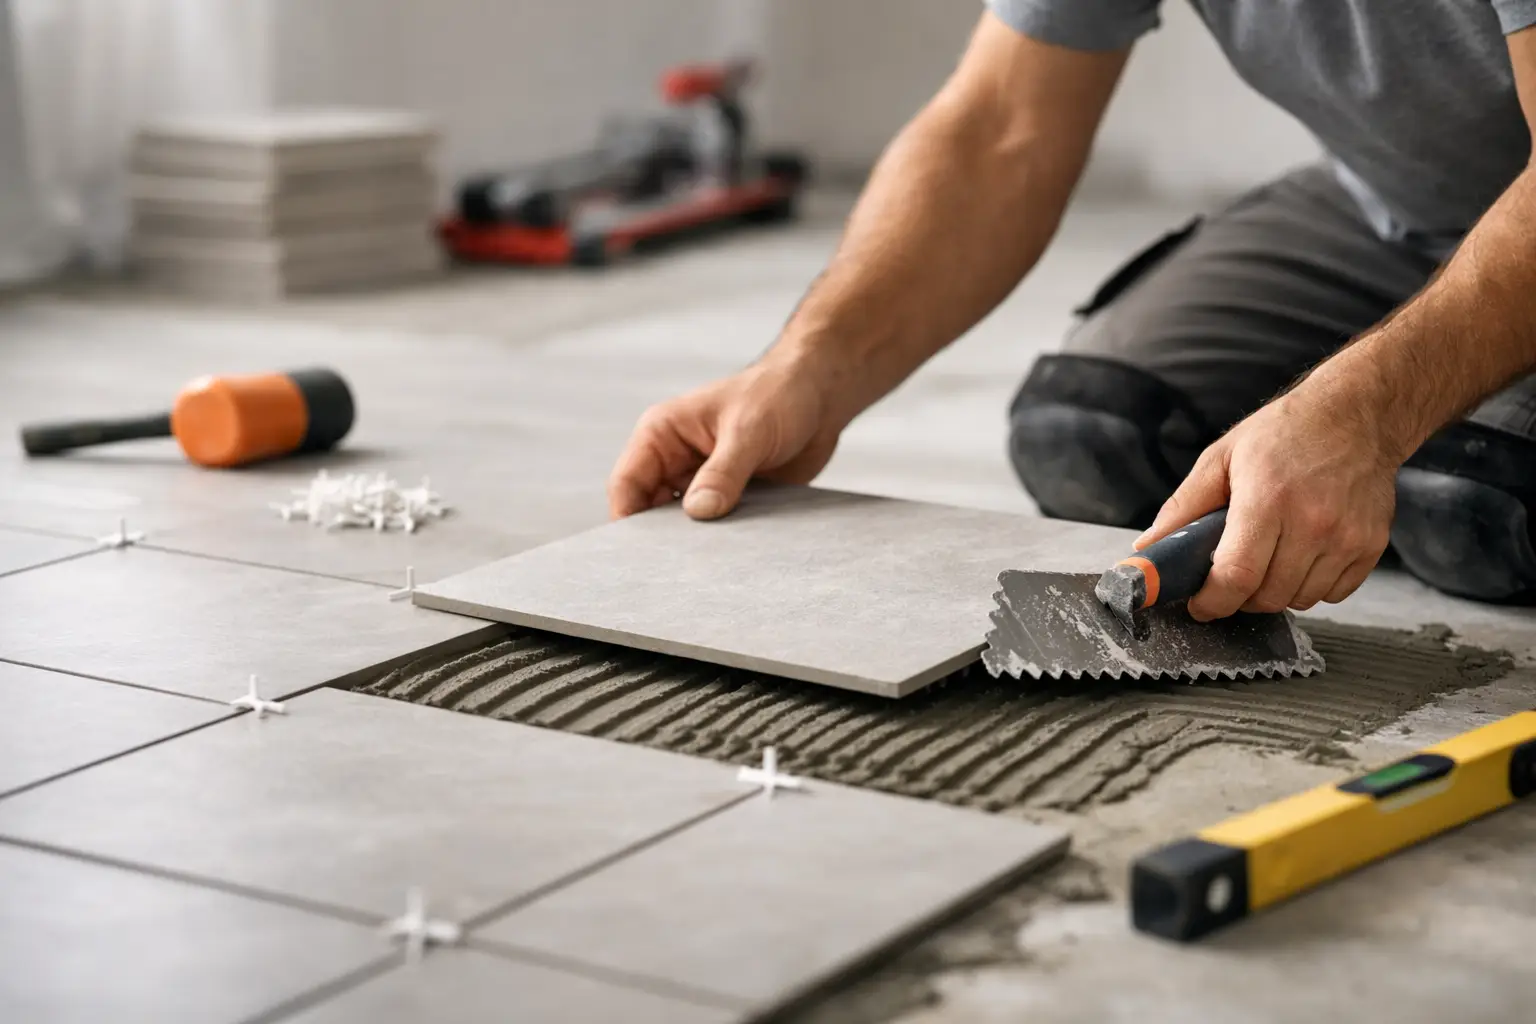
Use the flat side of the trowel to key mortar into the substrate, then comb it with the notched side in straight, even lines. Work in small sections so the mortar does not skin over before the tile is set.
If the mortar starts drying on the surface, it will not bond properly. That is one of the fastest ways to create loose tiles later.
5. Set the tile with even pressure
Press each tile firmly into the mortar and move it slightly across the trowel lines to collapse the ridges. Use spacers to keep grout joints consistent. Check often with a level or straightedge to avoid lippage, especially if the floor has any variation.
For some tile sizes and applications, back-buttering helps improve coverage. On floors, strong mortar coverage is essential. Gaps under the tile can lead to cracks under traffic or impact.
6. Make cuts carefully
Measure twice before cutting. Edge cuts around walls may be covered by trim, but cuts around door jambs, corners, plumbing penetrations, and transitions need to look precise. A wet saw usually gives the cleanest result for many ceramic tile cuts.
This is another place where patience pays off. Sloppy cuts can make a quality installation look cheap.
7. Let the tile cure before grouting
Do not rush this part. Once the tile is installed, allow the mortar to cure according to product directions. Walking on it too soon or starting grout too early can shift tiles and compromise the bond.
A fast-looking schedule is not always a better schedule. Durable tile work depends on respecting cure times.
8. Grout the joints and clean properly
Apply grout diagonally across the joints using a rubber float, pressing it in fully. Remove excess grout and begin cleanup with a damp sponge once the grout starts to firm up. Do not overwash. Too much water during cleanup can weaken grout color consistency and performance.
After the haze appears, polish it off with a dry cloth or haze remover if needed. Some grout types may also require sealing once cured.
Where tile jobs usually go wrong
If you are researching how to install ceramic tile because you want long-term value, it helps to know what causes failures. The biggest problems are poor subfloor prep, wrong mortar selection, inadequate tile coverage, rushed layout, and ignoring movement or moisture conditions.
Bathrooms are a good example. The tile may look excellent, but if waterproofing behind or beneath the tile was skipped, moisture can still reach the structure. In kitchens and commercial spaces, heavy traffic exposes weak bonding and uneven setting fast.
There is also the issue of trying to tile over old surfaces just to save time. Sometimes that works. Often, it creates a thicker floor, transition problems, and unreliable adhesion. Removal and proper prep are frequently the smarter investment.
DIY vs professional installation
Ceramic tile is possible as a DIY project, but not every project should be one. A small, square laundry room with a stable surface is very different from a large open floor, a shower surround, or a bathroom remodel with waterproofing and tight cuts.
If your project includes cracked concrete, old flooring removal, uneven substrate, high-end tile, or a deadline tied to tenants, resale, or business use, professional installation usually saves time and protects your budget. Replacing a failed tile floor costs more than doing it right the first time.
That is where a full-service team has a real advantage. Companies that handle removal, surface prep, installation, and finish work under one scope reduce delays and help control quality from start to finish. For many clients in Central Florida, that end-to-end approach is the difference between a smooth project and a frustrating one.
How to get a better finished result
Good tile work is not just about straight lines. It is about clean transitions, consistent joint spacing, solid bonding, and a surface that performs under daily use. If appearance matters, pay close attention to layout and cut placement. If durability matters, pay even more attention to prep, mortar coverage, and cure times.
Tile size and room conditions also affect the process. Smaller ceramic tile can be more forgiving on minor floor variation. Larger pieces demand a flatter substrate and tighter installation control. In moisture-prone areas, waterproofing should never be treated as optional.
If you are hiring the work out, ask specific questions. Who is handling demolition? How will the surface be prepared? Is leveling included if needed? What type of mortar and grout will be used? A serious contractor should be ready with clear answers, not vague promises.
Rox Floor approaches tile projects the way they should be handled – with proper removal, expert prep, clean installation, and a focus on durable results that add value to the property.
Ceramic tile can absolutely deliver a high-quality finish, but only when every phase is treated like it matters. If you want the floor, wall, kitchen, or bathroom to look sharp and hold up over time, the smartest move is simple: do not just install tile – build the right foundation for it.