
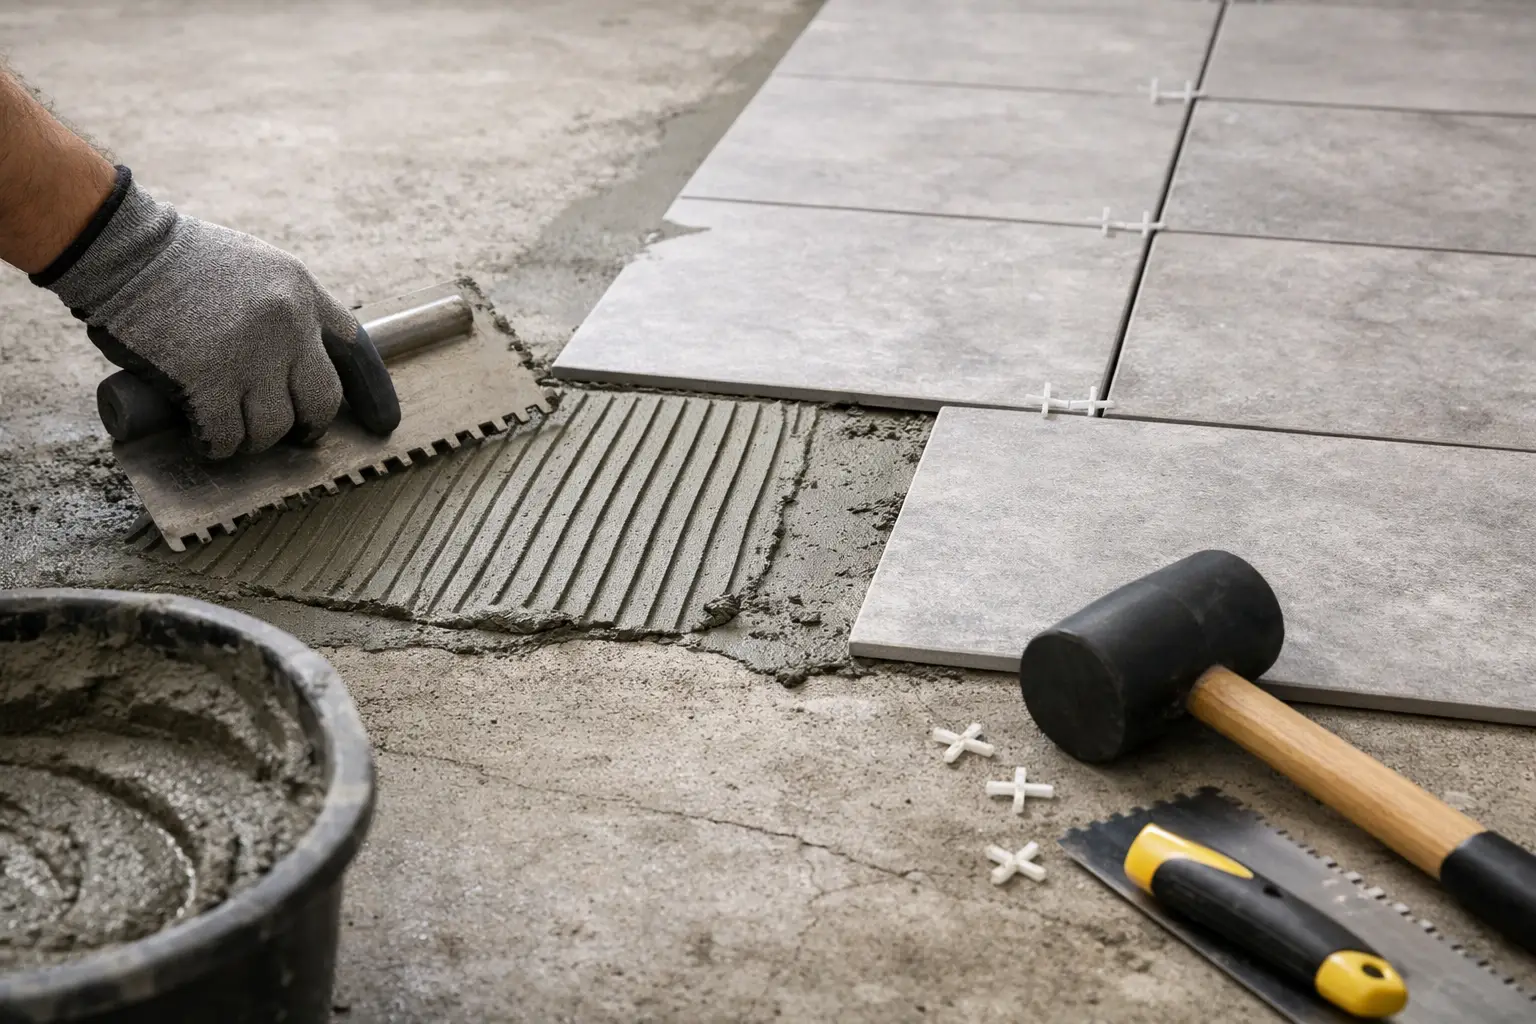
How to Prepare Concrete for Tile That Lasts
A tile floor can look premium on day one and still fail within months if the slab underneath was rushed. Knowing how to prepare concrete for tile means dealing with the conditions that actually cause cracked grout, loose tile, hollow spots, and moisture damage before the first tile is set.
Concrete is durable, but it is not automatically ready for tile. It may hold moisture, carry old adhesive, have hairline cracks, slope toward the wrong area, or contain sealers that prevent thinset from bonding. The right preparation creates a clean, stable, flat surface so the tile installation performs as well as it looks.
Start With a Full Concrete Inspection
Do not assume a concrete floor is sound because it feels hard underfoot. Start by removing all loose material and examining the slab in good light. Look for cracks, pits, high spots, low areas, old flooring residue, paint, curing compounds, and signs of moisture intrusion along walls or doorways.
Small shrinkage cracks are common in concrete and do not always mean the slab is structurally failing. However, cracks that are wide, uneven from one side to the other, actively growing, or associated with settlement need a closer evaluation. Tile is rigid. If the concrete continues moving, that movement can transfer directly through the tile and grout.
Check the floor with a long straightedge or level. For large-format tile, a flat slab is especially critical because bigger pieces reveal lippage and do not flex around low areas. A floor can appear level to the eye but still be too uneven for a clean installation.
Remove Everything That Can Block Bonding
Thinset mortar must bond directly to a properly prepared concrete surface. Dust, wax, paint, old carpet glue, mastic, grease, sealers, and loose skim coats can interfere with that bond. Skipping this step is one of the fastest ways to create tile failure.
Mechanical removal is usually the most dependable approach. Depending on the condition of the slab, this may involve scraping, grinding, scarifying, or shot blasting. The goal is not to damage sound concrete. It is to remove contaminants and create a clean, open surface that accepts mortar.
Chemical adhesive removers can leave residue behind, which may create another bonding problem. They can be useful in limited situations, but they are not a substitute for proper surface profiling. After removal, vacuum the floor thoroughly with professional dust-control equipment. A broom alone often leaves fine dust that weakens mortar adhesion.
If an old floor was removed, pay close attention to black adhesive, white mastic, leveling compounds, and patches around the perimeter. Each material needs to be evaluated before tile work begins. A reliable installation is only as strong as the weakest layer left beneath it.
Test Moisture Before Installing Tile
Florida concrete slabs often face moisture challenges, especially on ground-level floors, in older properties, near exterior doors, and in rooms affected by plumbing leaks. Tile itself is not harmed by moisture, but excessive vapor moving through a slab can affect mortar, grout, membranes, and surrounding finishes.
A basic plastic-sheet test can reveal obvious moisture concerns. Tape a clear sheet of plastic tightly to several areas of the slab and leave it in place for at least 24 hours. Condensation beneath the plastic or darkened concrete may signal moisture vapor. This is a screening tool, not a final diagnosis.
For a higher-confidence assessment, use an appropriate professional moisture test based on the flooring system and product requirements. This matters when installing over a slab that has had water damage, when using moisture-sensitive materials nearby, or when the concrete is newly poured.
New concrete also needs adequate curing time. Many tile systems require a slab to cure for roughly 28 days, but product instructions and job conditions control the final decision. Installing too soon can trap moisture and create preventable issues.
Repair Cracks, Holes, and Weak Areas
Preparing concrete for tile is not about hiding defects. It is about correcting them with materials designed for the job. Remove loose concrete around spalls, chips, or hollow areas until you reach solid material. Then use a compatible cement-based repair product to rebuild the surface.
Hairline cracks should be cleaned and evaluated before being addressed. In many tile installations, a crack-isolation membrane is installed over repaired or stable cracks to help reduce the chance of movement transferring through the finished tile. This is a practical layer of protection, not a guarantee against major structural movement.
Do not fill cracks with random caulk, wood filler, or patch products that are not approved for tile preparation. They may remain soft, shrink, or fail to bond to the mortar. The same rule applies to patching compounds: choose one that is compatible with concrete and the thinset system being used.
Expansion joints deserve special treatment. They are designed to allow building movement and should not simply be tiled over. The tile layout and movement-joint plan need to respect those joints, particularly in larger rooms, commercial spaces, and areas exposed to direct sunlight.
Make the Slab Flat Before Tile Goes Down
Flatness and level are related, but they are not the same. A floor can slope slightly and still be tile-ready if it is flat. In a shower or other wet area, the slope is intentional and essential for drainage. In most rooms, however, significant dips and peaks should be corrected before installation.
High spots are typically ground down. Low areas can be filled with a suitable patch or self-leveling underlayment, depending on the depth of the problem and the intended tile. Self-leveling material is not a cure-all. The slab must be clean, primed when required, and contained at edges and openings so the material flows correctly.
Large-format porcelain tile requires tighter control. A small uneven area that might disappear under a smaller tile can produce noticeable height differences along the edges of a 24-by-48-inch tile. Correcting the concrete first is faster and more cost-effective than trying to compensate with excessive thinset during installation.
Choose the Right Preparation System
There is no one-size-fits-all answer to how to prepare concrete for tile. The right system depends on the slab condition, the type and size of tile, room use, moisture exposure, and whether the concrete has cracks or movement concerns.
For a clean, dry, stable slab in good condition, surface cleaning, minor patching, and quality thinset may be sufficient. For a slab with stable cracks, a crack-isolation membrane can add protection. For areas with moisture concerns, a moisture-control product may be needed before setting tile. Bathrooms, laundry rooms, and other wet spaces may also require waterproofing beyond the concrete preparation itself.
Tile selection changes the preparation standard too. Natural stone can be more sensitive to unevenness and requires a carefully planned mortar system. Large-format tile demands a flatter substrate. Mosaic tile may conform to minor contours more easily, but it still needs a clean, stable base.
The materials must work together. Primer, patch, membrane, thinset, grout, and sealant should be selected as a compatible system whenever possible. Mixing products without checking their requirements can put the manufacturer warranty and the finished floor at risk.
Final Checks Before Setting Tile
Before tile installation starts, the concrete should be clean enough that no dust transfers heavily to your hand, flat enough for the tile format, dry enough for the approved installation system, and free of loose material. Confirm the layout before mixing mortar. This is the time to locate cuts, adjust the starting line, plan transitions, and avoid leaving thin slivers of tile at visible walls.
A final dry layout is particularly valuable in kitchens, entryways, and open living areas where tile lines run through multiple sightlines. It helps ensure balanced cuts and a more intentional finished appearance. Once thinset is spread, changes become slower, messier, and more expensive.
Professional preparation also protects the schedule. Finding moisture, hollow concrete, or heavy adhesive after installation has begun can delay the project and increase costs. Addressing those conditions upfront keeps the installation moving with fewer surprises.
A Rox Floor project begins with the slab, not the tile box. From old-floor removal and concrete grinding to repair, leveling, and expert tile installation, the objective is straightforward: build the right foundation for a high-quality finish that holds up. When the concrete needs more than a quick sweep, getting the preparation right is the best investment you can make in the floor above it.