
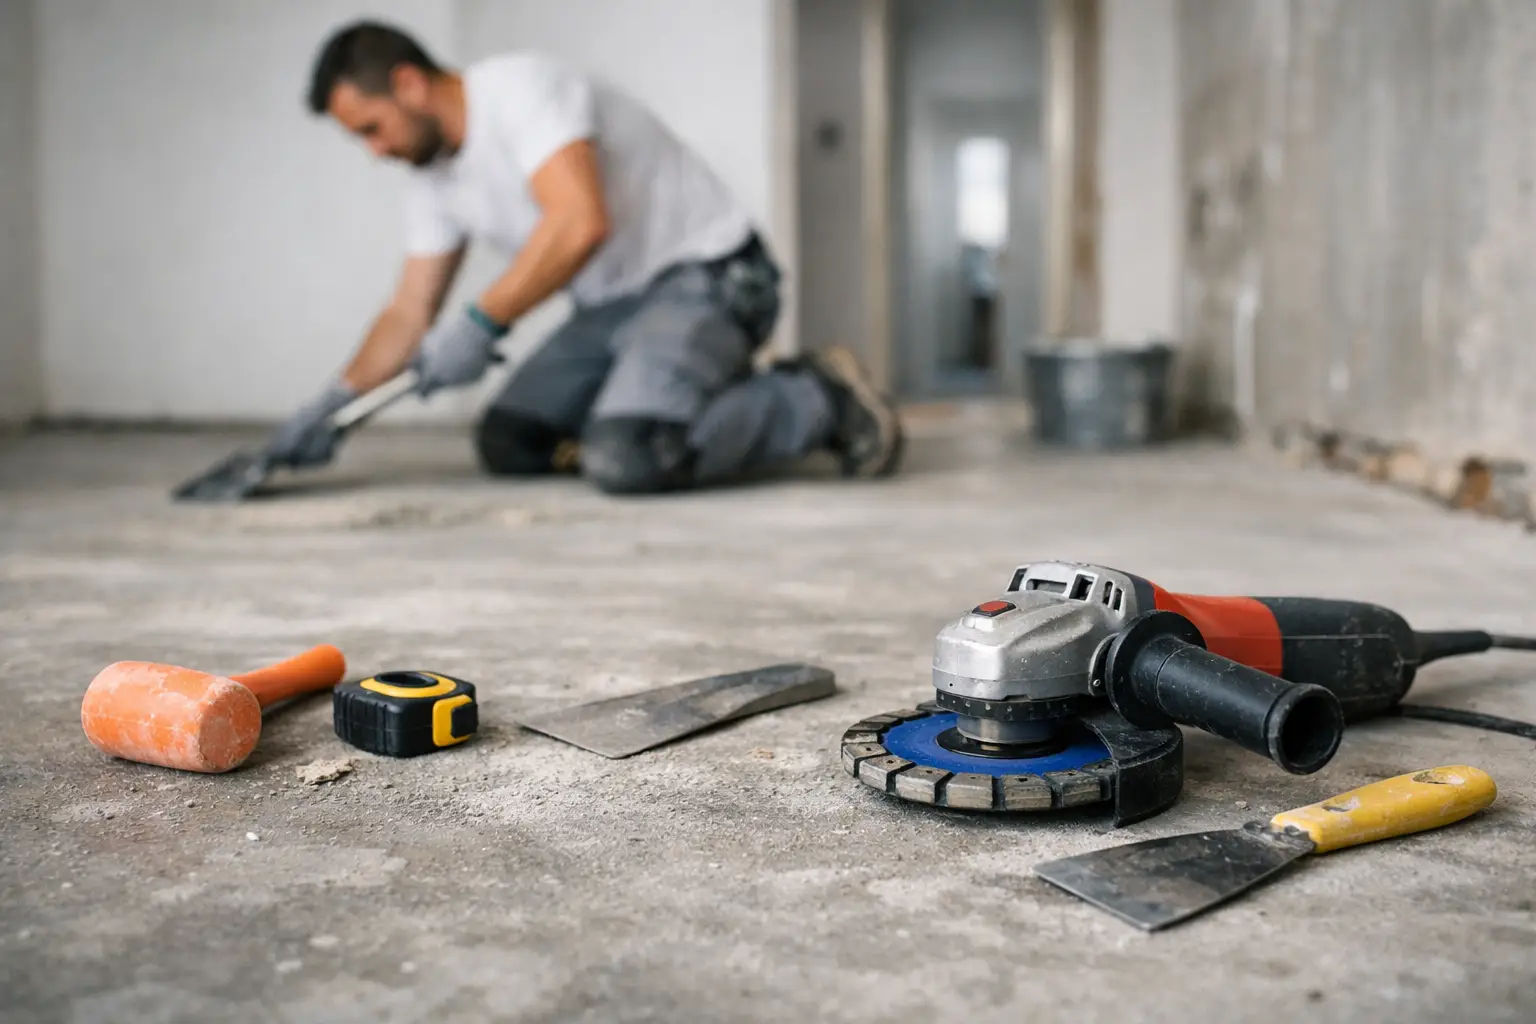
How to Prepare Concrete Subfloor Right
A new floor can look premium on day one and still fail fast if the base underneath is ignored. If you want to know how to prepare concrete subfloor correctly, the real goal is simple: create a clean, sound, level, and dry surface that gives your new flooring a fair chance to last.
That matters whether you are installing tile in a rental unit, luxury vinyl in a kitchen remodel, or stone in a commercial space. The surface prep stage is where expensive callbacks are either prevented or created. Done right, it protects your finish floor, speeds up installation, and helps you avoid hollow spots, loose planks, cracked grout, and adhesive problems later.
Why concrete subfloor prep matters so much
Concrete is tough, but it is rarely ready for flooring as-is. Old adhesive, paint, dust, moisture, low spots, hairline cracks, and surface contamination can all interfere with the bond or create movement under the finished floor.
Different materials also demand different tolerances. Tile can sometimes handle minor variation better than glue-down vinyl, while large-format tile and rigid flooring products usually require a flatter surface. That is why the right preparation is not just about making concrete look clean. It is about matching the slab condition to the flooring system going on top.
How to prepare concrete subfloor before any installation
The first step is inspection, not demolition. Before grinding, patching, or applying any leveling product, check the slab carefully for cracks, moisture signs, soft spots, residue, and uneven areas. A subfloor that looks acceptable from across the room often tells a different story at floor level.
Start by removing all existing flooring and debris completely. That includes thinset ridges, glue residue, staples, tack strips, paint drips, and anything else that interrupts direct contact with the new material. Shortcuts here usually show up later as weak adhesion or telegraphed imperfections.
Once the floor is bare, evaluate four things: cleanliness, soundness, flatness, and moisture. If even one of these is off, the installation may be at risk.
Remove contaminants completely
Concrete must be free of dust, grease, oils, curing compounds, adhesive residue, and loose material. Sweeping is not enough on its own. In many cases, mechanical grinding or professional surface preparation is the fastest and most reliable way to open the concrete and remove stubborn contamination.
This is where many DIY projects go sideways. A floor may feel clean to the touch and still have enough residue to weaken primer, patch, or adhesive. For tile, that can reduce mortar bond. For vinyl or glue-down flooring, it can cause failures that are expensive to fix once furniture and trim are back in place.
Check the slab for damage
Not every crack is a dealbreaker, but every crack deserves attention. Hairline shrinkage cracks may only need treatment and monitoring, while wider or active cracks can signal movement that needs a more specific repair approach.
Look for spalling, flaking, pitting, soft areas, and edges that crumble under pressure. If the slab surface is weak, patching over it without stabilizing the base only hides the problem for a short time. The repair has to bond to a solid surface or it will not hold.
Measure flatness, not just level
A lot of people ask if the slab is level, but for flooring, flatness is often the bigger issue. A floor does not have to be perfectly level across the entire room to perform well. It does need to meet the flatness tolerance required by the flooring manufacturer.
Use a long straightedge to identify high spots and low spots. Large-format tile, vinyl plank, and engineered flooring can be unforgiving when the slab has dips or ridges. High spots usually need grinding. Low areas may need patching or self-leveling underlayment, depending on the depth and the product being installed.
Moisture testing is where smart installs separate themselves
Concrete can look dry and still hold enough moisture vapor to damage flooring. This is one of the most common reasons for adhesive breakdown, mold risk, curling edges, and bubbling under resilient flooring.
If you are preparing a slab on grade, a first-floor concrete surface, or any area with a history of leaks or humidity issues, moisture testing should not be treated as optional. The exact test method and acceptable limits depend on the flooring system and adhesive being used.
There is no universal answer here. Tile installations may tolerate conditions that would be unacceptable for vinyl or wood-based products. That is why a professional prep plan always starts with the finish material, then works backward to the slab requirements.
Repairing cracks and low spots the right way
After cleaning and testing, the next phase is correction. Cracks, chips, divots, and uneven areas need to be repaired with compatible products designed for flooring prep, not just general-purpose filler from a hardware shelf.
For isolated low spots, a patching compound may be enough. For broader uneven areas, a self-leveling underlayment can save time and create a better installation surface. But self-leveling products are not magic. If the slab is dirty, unprimed, or poorly profiled, the material may not bond correctly.
This is also where trade-offs matter. Spot patching is cost-effective when the slab is mostly sound with a few defects. Full leveling adds cost, but it can dramatically improve results for high-end finishes and larger rooms. The right choice depends on the slab condition, timeline, flooring type, and performance expectations.
Grinding vs. patching: knowing what the floor needs
When people think about prep, they often focus on filling low spots. In reality, high spots are just as important. If you patch around them instead of grinding them down, you can end up using more material, raising transitions, and creating avoidable thickness issues at doorways or adjacent rooms.
Grinding is often the right move when the slab has old glue, thinset residue, paint, or surface highs. Patching works better for voids, chips, and depressions. Most real projects need both.
A balanced prep strategy saves money over the life of the floor. It is cheaper to correct the slab now than to replace a failed installation later.
How to prepare concrete subfloor for tile, vinyl, or other finishes
The finish floor changes the prep standard. Tile generally needs a stable, properly bonded substrate with appropriate crack treatment and flatness. Luxury vinyl demands a cleaner, smoother surface because imperfections can telegraph through and moisture can affect adhesives or planks. Natural stone often requires tighter control than standard ceramic because of weight, size, and sensitivity to movement.
That means there is no one-size-fits-all prep checklist. The concrete subfloor should be prepared specifically for the material being installed, the room conditions, and the manufacturer specifications. Fast work is good. Guesswork is not.
Common mistakes that cause flooring failure
The biggest mistake is assuming concrete is ready because it is hard. Surface hardness does not guarantee bond quality, moisture compliance, or flatness. Another common problem is leaving behind old adhesive or paint and installing directly over it.
Skipping moisture testing is another expensive gamble. So is using the wrong patch product, failing to prime before leveling, or rushing the cure time. Even good flooring products can fail when the slab prep is poor.
For owners and property managers, this is where hiring an experienced crew makes a measurable difference. A team that handles removal, prep, and installation under one scope can catch issues earlier and keep the project moving with fewer surprises.
When professional subfloor prep is the better call
Some concrete prep jobs are straightforward. Others involve multiple layers of old flooring, moisture concerns, damaged slabs, or tight installation schedules. In those cases, professional equipment and experience are not luxuries. They are what keep the project on track.
A trusted flooring and demolition team can assess the slab, remove failed materials efficiently, grind and repair the surface properly, and prepare it for the specific flooring you want installed. That saves time, reduces risk, and gives you a cleaner path to a durable finish.
For homeowners, investors, and commercial clients, the real value is not just labor. It is knowing the floor was prepared to perform, not just to look ready.
A concrete slab sets the tone for everything that follows. If you want the finished floor to look sharp, wear well, and hold up under daily use, start with the part most people never see – and make sure it is done right.