
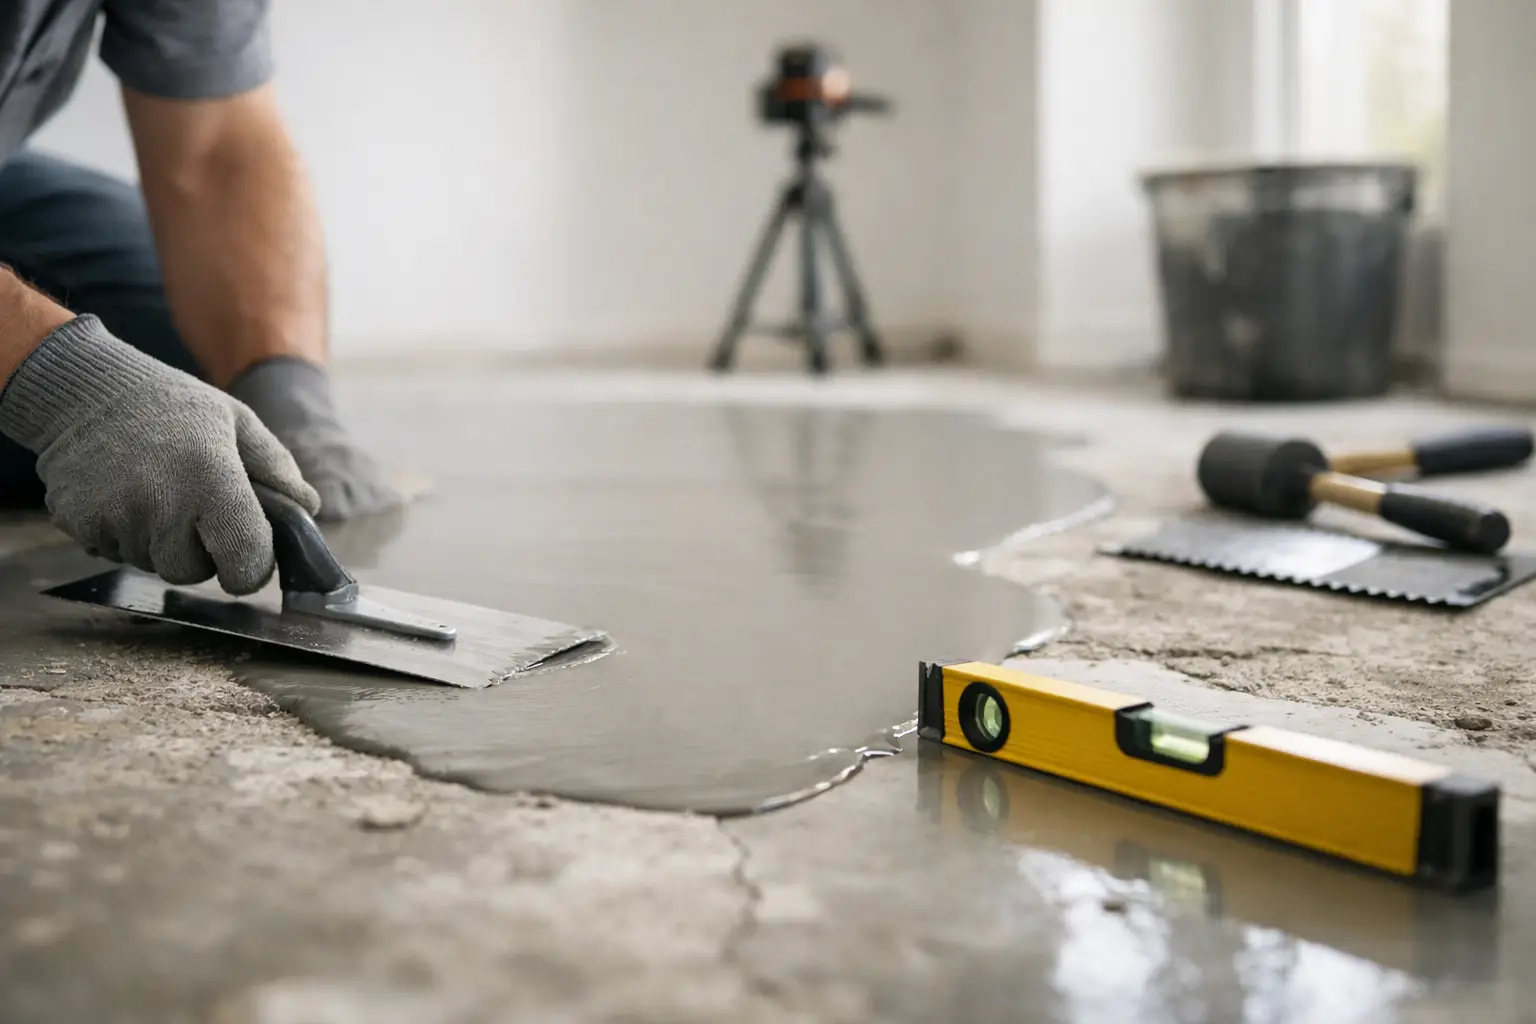
How to Level Uneven Floors the Right Way
A new floor can look flawless on day one and still fail early if the surface underneath is out of level, cracked, or soft. That is why homeowners, property managers, and contractors searching for how to level uneven floors are usually dealing with more than a cosmetic issue. They are trying to protect the next phase of the project from loose tile, vinyl movement, hollow spots, or visible height changes that show up after installation.
Floor leveling is not one single fix. The right solution depends on what is causing the unevenness, how severe it is, and what flooring will go on top. A concrete slab with low spots needs a different approach than a wood subfloor that has sagged, swollen, or shifted over time. Getting this part right is what separates a quick patch from a durable result.
What causes uneven floors?
Uneven floors usually come from one of three places: the subfloor, the structure below it, or an old surface that was never prepared correctly. In older homes, settlement and long-term wear are common. In bathrooms, kitchens, and commercial spaces, moisture damage can weaken wood substrates or break down adhesives. In renovation work, it is also common to find layers of old flooring left behind, patchy repairs, or dips hidden under tile and vinyl.
Some floors are out of level but still flat enough for certain materials. Others are both unlevel and uneven, which is where installation problems begin. That distinction matters. A floor can slope slightly across the room and still accept some finishes, but localized humps, ridges, and depressions are what cause lippage in tile and movement in luxury vinyl plank.
How to level uneven floors without guessing
The first step is measuring the problem, not eyeballing it. A long straightedge, laser level, or level bar helps identify high spots and low spots across the room. This tells you whether you need grinding, patching, self-leveling underlayment, subfloor replacement, or structural correction.
If the variation is minor, a floor patch or self-leveling product may solve it. If the floor has widespread deflection, rot, delamination, or framing issues, pouring leveling compound on top will not fix the real problem. It only hides it for a while.
For most installations, manufacturers set flatness tolerances for the substrate. Tile, vinyl, and large-format materials are less forgiving than many people expect. If the floor prep misses those tolerances, the finish floor pays the price.
Concrete floors
Concrete is often the simplest surface to correct, but only if it is sound. If the slab has isolated low spots, installers may use a patching compound. If the slab is uneven throughout the space, self-leveling underlayment is often the better option. High spots may need to be ground down first so the material is not poured too thick.
Cracks also need attention. Some are harmless surface marks. Others indicate movement that should be evaluated before any leveling work begins. Moisture testing is also important on concrete, especially when installing vinyl or other adhesive-based flooring.
Wood subfloors
Wood floors are more complicated because the problem may be in the framing, the subfloor panels, or both. If plywood is loose, swollen, or damaged, sections may need to be removed and replaced. If joists are sagging, sistering or structural reinforcement may be required before surface leveling starts.
This is where many DIY repairs go wrong. A leveling compound can help smooth a wood subfloor in some situations, but it cannot make a weak floor strong. If the floor flexes under foot traffic, the finish on top will eventually show it.
When DIY can work and when it usually doesn’t
If you are dealing with a small room, limited low spots, and a stable substrate, a DIY repair may be realistic. For example, a small laundry room on concrete with one or two shallow depressions is very different from an entire first floor with old tile removal, adhesive residue, and multiple transitions.
DIY becomes risky when the project includes large-format tile, luxury vinyl plank, natural stone, or any finish that needs tight tolerances. It also becomes risky when the old flooring must be removed first. Demolition changes the surface, exposes hidden damage, and often reveals that the floor is in worse condition than expected.
Fast-set compounds, primer requirements, mixing ratios, and working time all matter. If the material is mixed wrong or spread too slowly, it can harden before it finds level. If the surface is not cleaned and primed correctly, bond failure becomes a real concern.
Best methods for how to level uneven floors
There is no universal method because each floor calls for a different correction strategy. In professional floor prep, the most effective approach usually combines multiple steps.
Grinding is often used to remove high spots on concrete. Patching compounds are best for smaller defects, edge repairs, and controlled corrections. Self-leveling underlayment works well when the floor has broader low areas and needs a more uniform plane. On wood floors, replacement of damaged panels may come before any skim coating or leveling. In some cases, installers also use underlayment systems to create a more stable surface for the finished floor.
The best results come from treating floor prep as part of the installation, not as an afterthought. That means matching the repair method to the final flooring material, room conditions, and expected traffic.
Self-leveling compound is not always the answer
This is one of the biggest misconceptions in renovation work. Self-leveling products are excellent when used in the right conditions, but they are not a cure-all. They require proper surface prep, accurate water ratios, perimeter control, and enough crew speed to place the product evenly.
They also add height. That can affect transitions at doorways, cabinets, appliances, bathroom fixtures, and adjacent rooms. If the floor needs major correction, that added height has to be planned before the pour begins.
Why floor prep matters before tile, vinyl, or marble
Every finish floor has its own tolerance for imperfections. Tile needs a flat, stable base or it can crack and create lippage. Vinyl plank can telegraph imperfections and separate at joints if the floor below is not corrected. Marble is even less forgiving because natural stone needs strong support and careful substrate preparation.
This is why experienced installers focus heavily on prep. The visible flooring gets the attention, but the hidden surface is what supports long-term performance. Saving money on prep often leads to callbacks, repairs, or full replacement much sooner than expected.
Signs you should call a professional
If doors are sticking, tile is cracking, baseboards show clear floor movement, or you feel bounce underfoot, the issue may go beyond surface leveling. The same applies if there has been water damage, prior flooding, or multiple flooring layers removed from the same area.
A professional evaluation is also worth it when timelines matter. Property turns, kitchen remodels, retail updates, and occupied homes all benefit from a faster, cleaner process with the right equipment. Surface preparation is one of those phases where delays usually come from surprises, and experienced crews are better equipped to handle what appears after demolition starts.
For property owners in Central Florida, this matters even more in moisture-prone areas and renovation projects where speed, cleanliness, and installation quality need to work together. A company like Rox Floor can handle removal, surface prep, and installation as one coordinated scope, which cuts down on handoff problems and helps keep the project on track.
The real cost of doing it halfway
An uneven floor rarely stays a small issue once the new material goes in. What starts as a minor dip can turn into cracked grout, lifted edges, hollow tile, squeaks, adhesive failure, or visible movement across the room. Those are not just appearance problems. They shorten the life of the floor and make the whole project more expensive.
Professional floor leveling is about accuracy, but it is also about sequencing. The surface has to be cleaned, evaluated, repaired, leveled, and checked again before installation begins. Skipping any of those steps can compromise the result.
If you are planning new flooring, treat the substrate like part of the finished product, because it is. A level floor is not just better looking. It gives every layer above it a fair chance to perform the way it should.