
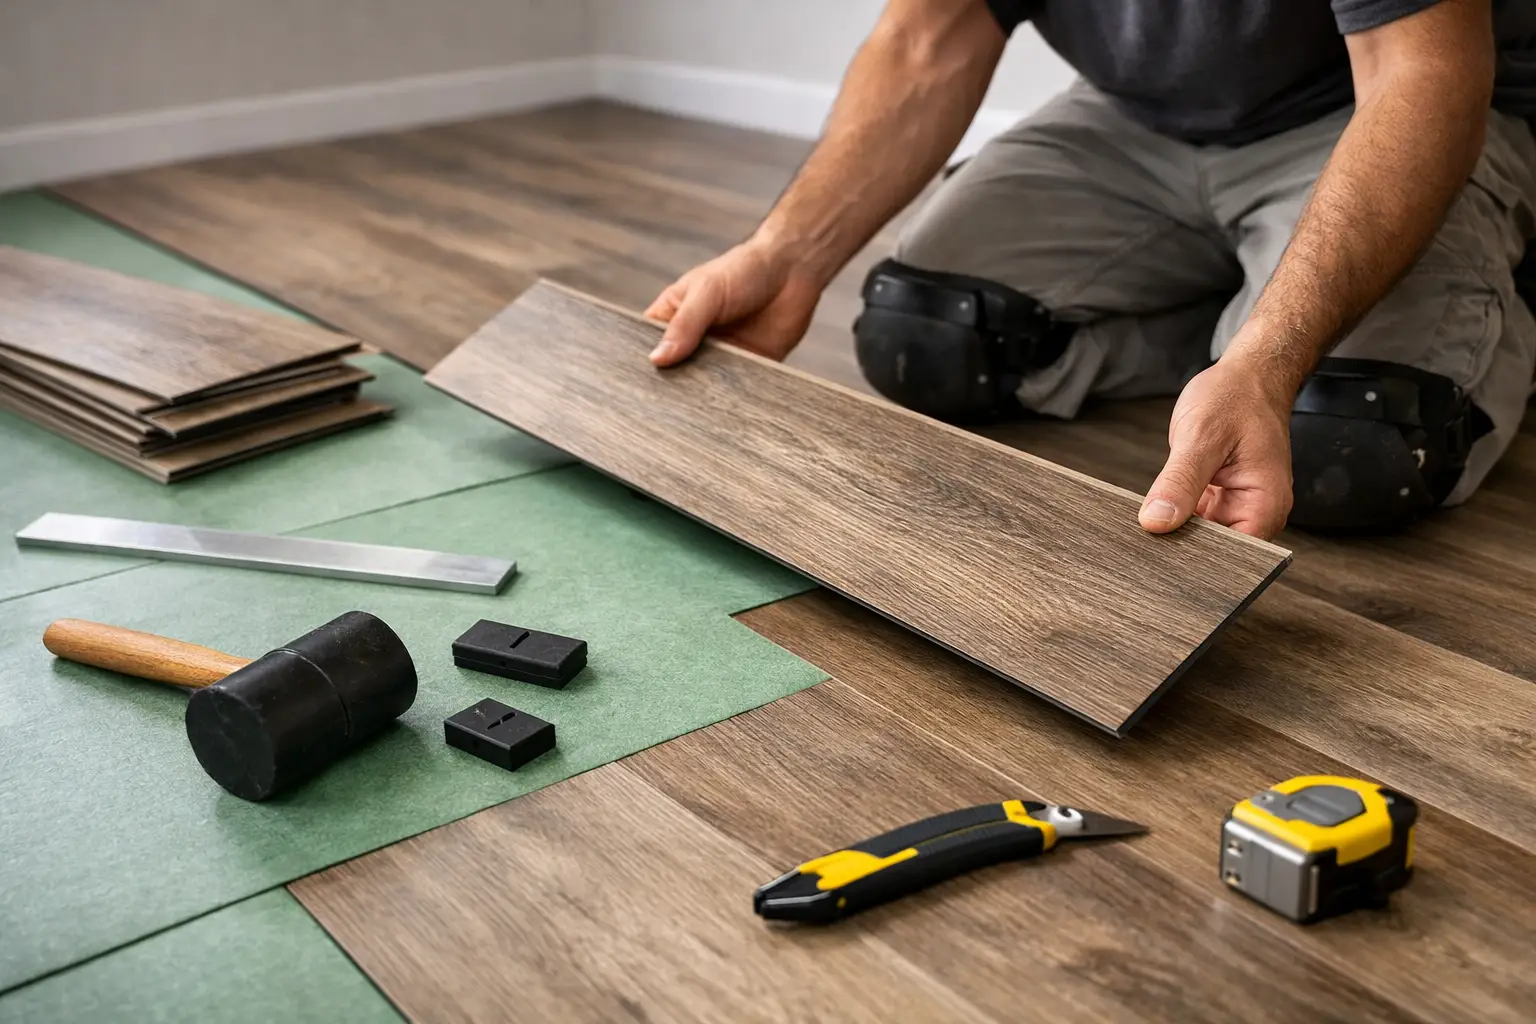
A Practical Guide to Vinyl Plank Installation
Vinyl plank looks simple once it is down. The challenge is everything that happens before that first row clicks together. A solid guide to vinyl plank installation starts with the part many people rush past – floor removal, subfloor prep, moisture checks, and layout. Get those right, and the finished floor looks clean, stays quiet underfoot, and holds up for years.
That is why experienced installers treat vinyl plank as a system, not just a product. The planks matter, but the condition of the surface underneath matters just as much. If you are planning a remodel, a rental refresh, or a fast-turn property upgrade, knowing where vinyl plank succeeds and where it can fail helps you protect your budget and your timeline.
Why vinyl plank is popular for real-world remodels
Vinyl plank earns its reputation because it checks a lot of boxes at once. It gives you the look of wood, better water resistance than many traditional flooring options, and a faster installation process than tile or nail-down hardwood. For busy households, commercial spaces, and investment properties, that combination is hard to ignore.
It also works well in projects where speed matters. If you are updating an older home or replacing damaged flooring, vinyl plank can be an efficient solution, especially when the same team handles removal, prep, and installation. Fewer handoffs usually mean fewer delays and a cleaner result.
Still, not every vinyl plank job is a quick click-and-go project. Uneven slabs, adhesive residue, moisture issues, and poor transitions can turn a straightforward install into a repair job waiting to happen.
Guide to vinyl plank installation: start with the subfloor
The best-looking vinyl plank floor can still fail if it is installed over the wrong surface conditions. Before installation begins, the subfloor needs to be checked for flatness, damage, softness, contamination, and moisture. That applies whether the base is concrete, plywood, or existing tile.
Concrete slabs are common in Florida and often look better than they perform. A slab can feel solid but still have low spots, cracks, old glue, or hidden moisture. Vinyl plank does not hide those problems for long. Over time, unsupported areas can flex, joints can separate, and edges can show wear faster than expected.
Wood subfloors bring a different set of issues. Squeaks, soft spots, swelling, and height variation all need attention before installation. If the floor moves too much, the locking system takes the stress. That is when planks start shifting or opening up at the seams.
Professional prep usually includes removing old flooring, scraping adhesives, patching damaged areas, grinding high spots, filling low spots, and cleaning the surface thoroughly. This stage is not glamorous, but it is where quality starts.
Moisture is not optional to check
Moisture is one of the most overlooked parts of any guide to vinyl plank installation. Waterproof plank does not mean the entire floor system is immune to moisture problems. Water vapor from a slab, trapped moisture below existing materials, or leaks around kitchens and bathrooms can affect adhesives, underlayment, and subfloor stability.
A proper moisture assessment is a smart move before installation, especially in humid climates or properties with a history of water damage. Skipping this step can save time on day one and cost much more later.
Choosing the right vinyl plank for the space
Not all vinyl plank products perform the same way. Thickness, wear layer, core construction, and installation method all affect durability and feel. A low-cost product may work well in a light-use bedroom, but it may not be the right fit for a busy kitchen, rental property, or commercial setting.
Click-lock vinyl plank is popular because it installs efficiently and can often go over properly prepared existing surfaces. Glue-down products can be a better fit in some high-traffic or large open areas because they offer strong stability and a lower profile. The right choice depends on the condition of the subfloor, the use of the space, and the expected wear.
This is where experience matters. A product that looks great in the showroom is not automatically the best option for every jobsite. Good installation starts with matching the material to the environment.
Layout decisions that affect the finished look
Flooring can be technically correct and still look off. That usually comes down to layout. Before installation starts, the room should be measured carefully so the first and last rows are balanced as much as possible. Narrow finishing strips at one wall tend to look rushed and can be harder to install cleanly.
Plank direction also changes the feel of the room. Running planks with the main sightline often makes a space feel longer and more cohesive. In open floor plans, continuity matters even more. Random transitions or direction changes can break up the visual flow and make the project feel pieced together.
Experienced installers also pay close attention to stagger patterns. End joints should be offset correctly, not repeated in obvious sequences. Small details like this are what separate a basic install from a high-quality result.
The installation phase: where precision pays off
Once the floor is prepped and the layout is set, the actual installation can move quickly. But quick should never mean careless. Expansion spacing at walls and fixed objects needs to be consistent. Cuts around door jambs, cabinets, and trim need to be tight and intentional. Transitions between rooms need to match the height and traffic demands of the space.
This is also where the condition of the prep work gets tested. If planks are fighting the floor, separating at the joints, or rocking under pressure, the issue is usually below them. Forcing the material into place is never the fix.
A professional installation team will keep checking alignment as the floor progresses, not just at the start. Small errors grow fast over a large area. Catching them early protects both the appearance and the locking system.
Trim, transitions, and finishing details matter
A clean vinyl plank floor can lose its impact if the finishing details are weak. Baseboards, quarter round, thresholds, reducers, and stair nosings all need to be selected and installed properly. These are not decorative extras. They help protect edges, manage movement, and create a complete look.
Transitions are especially important where vinyl meets tile, carpet, or another hard surface. If the height difference is not handled correctly, the floor can look unfinished and wear prematurely at the connection point.
Common mistakes that cause callbacks
Most vinyl plank problems are predictable. Poor subfloor prep is at the top of the list. Installing over debris, old adhesive, uneven surfaces, or wet conditions creates problems that the plank itself cannot solve.
The next common issue is using the wrong product for the space. Heavy traffic, rolling loads, pet wear, and moisture exposure all need to be considered upfront. Then there is rushed installation – tight expansion gaps, weak transitions, repeated joint patterns, or bad cuts around visible areas.
Another mistake is assuming floor removal is simple. Old tile, glued-down sheet vinyl, or multiple layers of previous flooring can add time, dust, and surface damage. If removal and prep are handled poorly, the new floor starts at a disadvantage.
When professional installation makes more sense
DIY vinyl plank can work in small, simple rooms with a flat subfloor and no surprises. But many real projects are not that clean. If you are dealing with damaged flooring, uneven concrete, kitchen or bath updates, tenant turnover, or a full interior refresh, professional installation usually saves time and protects the final result.
It also gives you one accountable team for removal, prep, and installation. That matters more than people think. Problems often happen at the handoff between phases. When the same crew owns the process from demolition to finish, the job tends to move faster and stay more consistent.
For homeowners, that means less disruption and fewer costly corrections. For property managers and investors, it means better schedule control. For contractors, it means having a reliable flooring partner who understands how prep affects performance.
What to expect from a quality flooring team
A reliable installer should do more than measure rooms and quote material. They should evaluate the existing floor, explain any prep requirements, identify moisture or flatness concerns, and recommend the right installation method for the space. Clear communication upfront is part of quality.
Strong execution also shows up in cleanup, scheduling, and follow-through. A good team respects the property, works efficiently, and pays attention to visible details. That is the difference between a floor that simply covers the surface and a floor that adds real value.
In Central Florida, where slab conditions, humidity, and fast-paced remodel schedules are common, that level of experience matters. Companies like Rox Floor stand out when they can remove old flooring, prep the surface correctly, and install the new floor with the speed and consistency clients expect.
If you are planning a vinyl plank project, think beyond color and price. The real success of the floor starts underneath it, and the best results come from getting the prep, product, and installation right the first time. A floor should not just look good on day one. It should keep performing long after the furniture is back in place.